DIY Plan Quick Start Guide
Welcome to RankScale AI DIY Plan! Next, I'll guide you through the complete process from login to generating your first SEO article. The entire process should take about 10-15 minutes. Let's get started.
Preparations
Before you begin, please ensure you have:
- Completed your DIY plan subscription
- Received the access key we sent you
- Prepared the keywords you want to create content for
Step 1: Access the Blog Management System
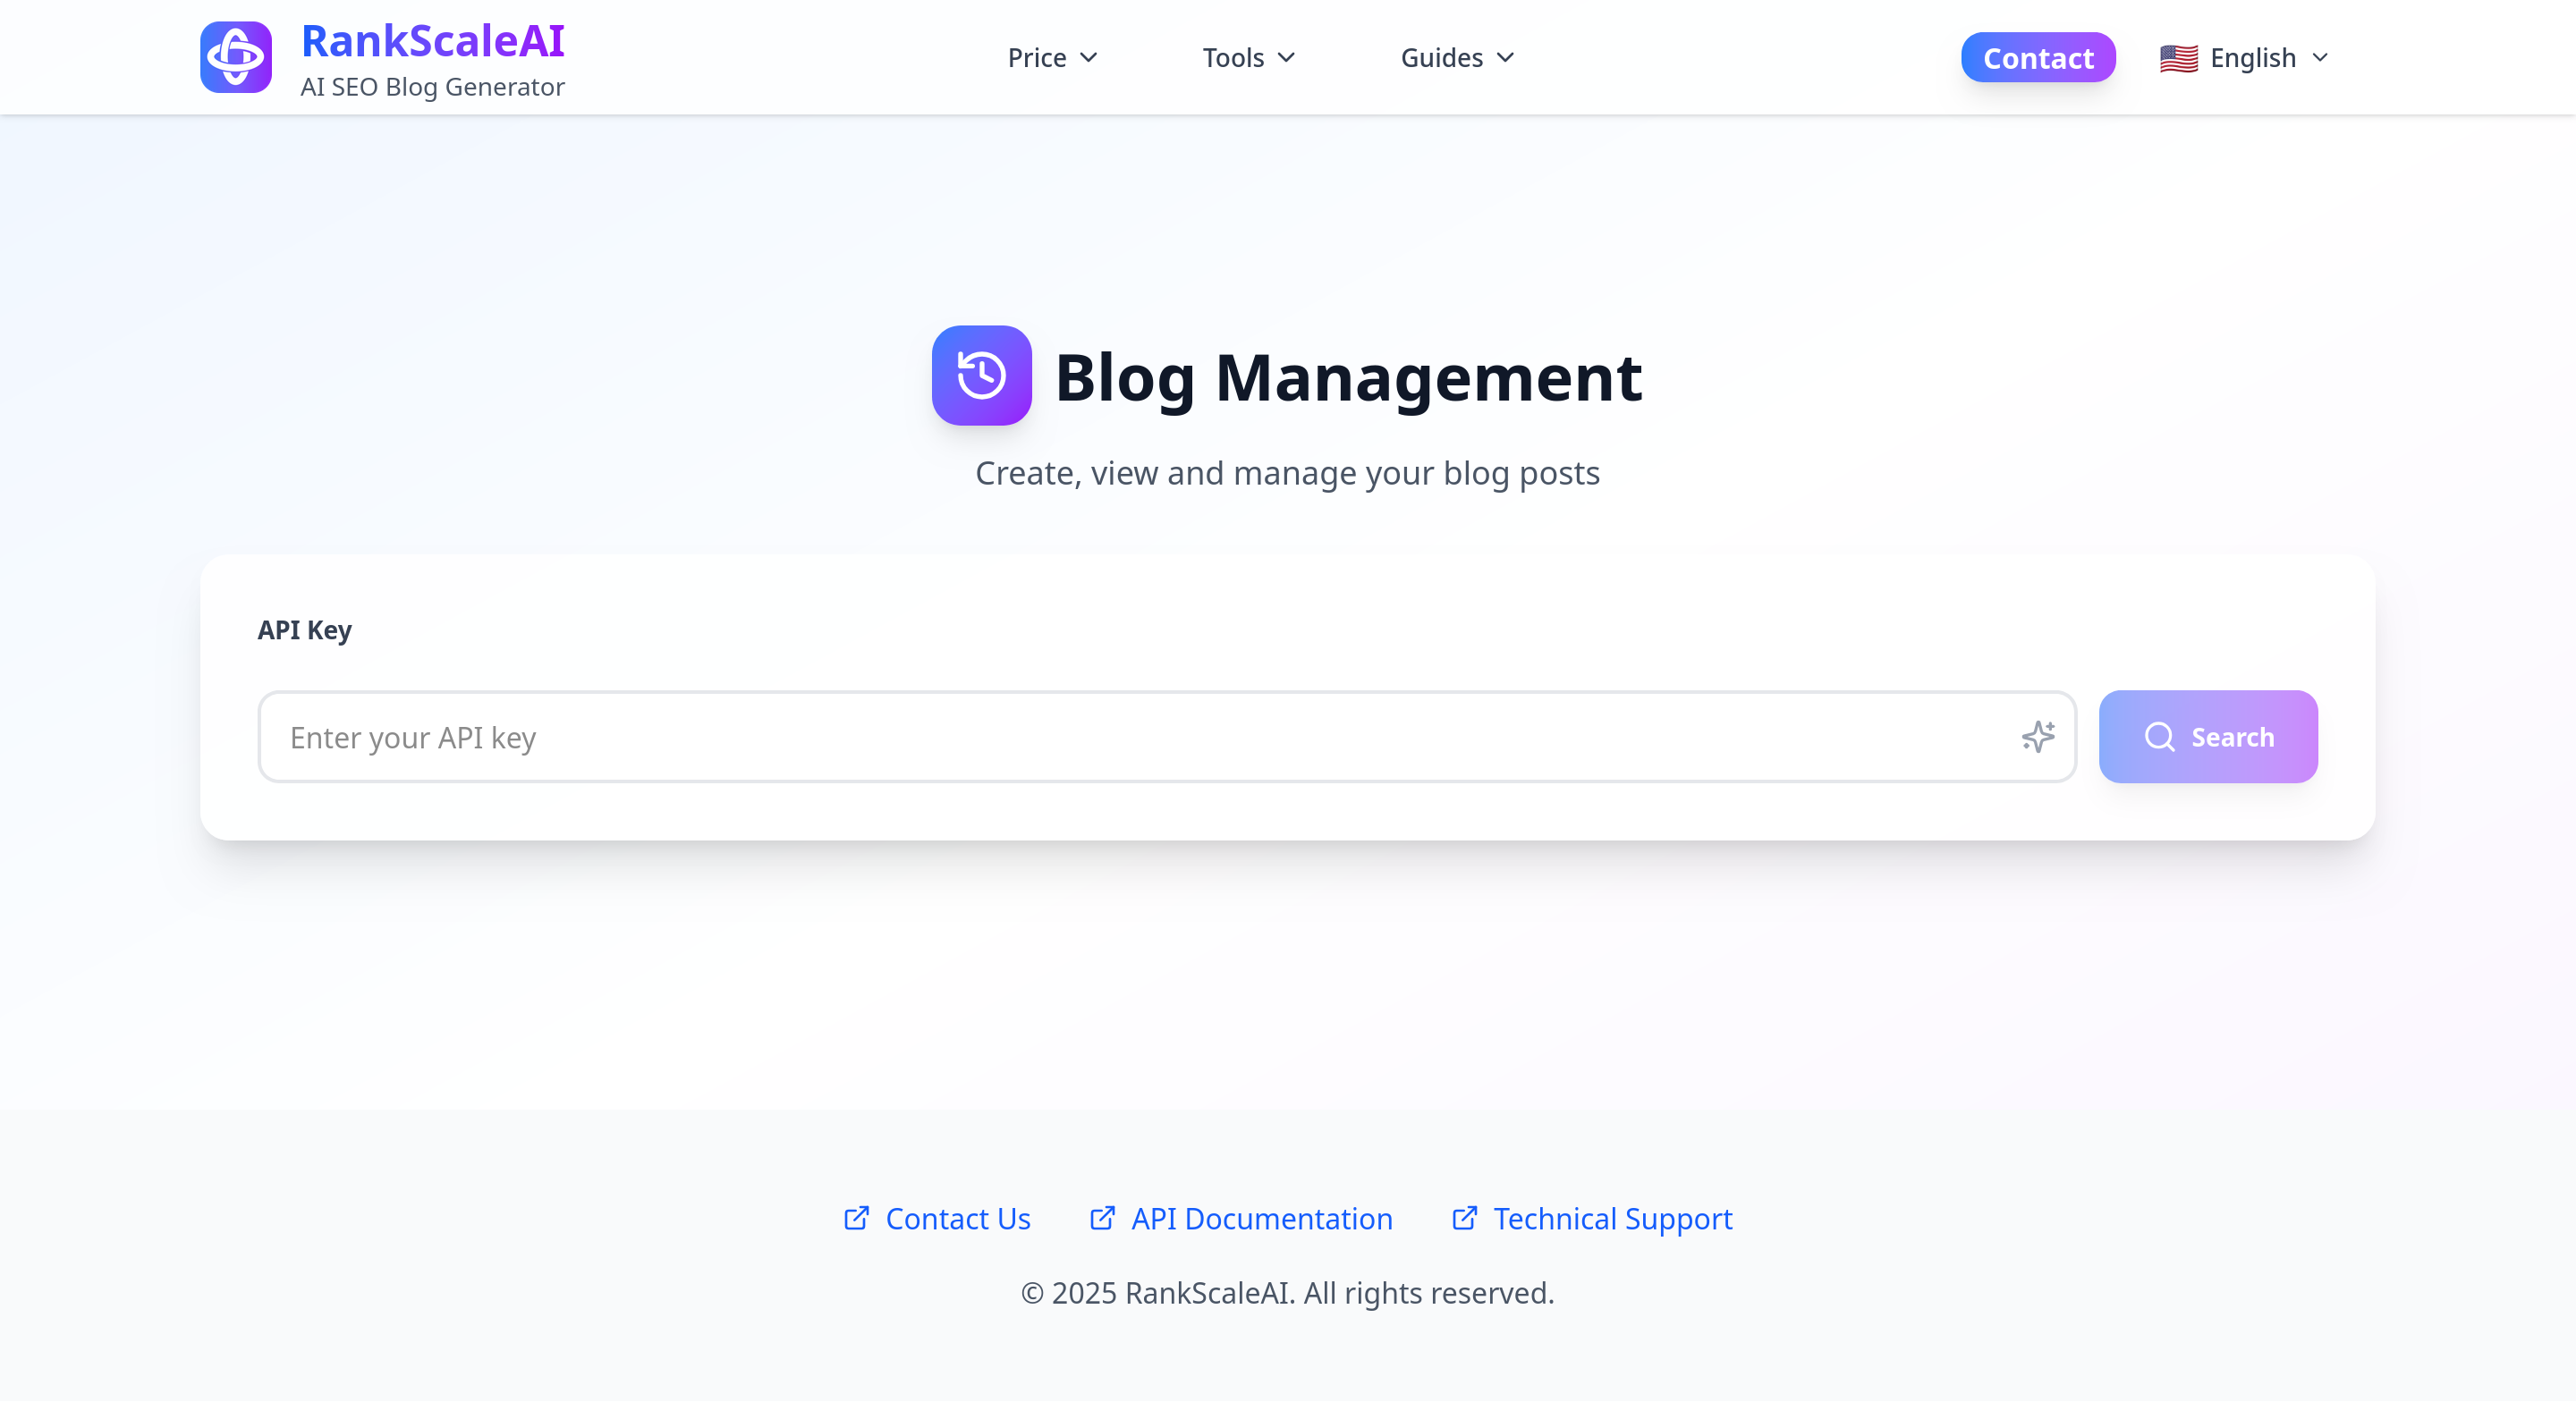
Open your browser and go to our blog management page: https://rankscaleai.com/en/blog-management
You will see a clean login interface with an input box prompting you to enter your access key. We recommend bookmarking this URL for easy future access.
Step 2: Enter Key to Log In
Carefully enter the key we provided into the input box. The key is typically a string of letters and numbers. Please note:
- Ensure there are no extra spaces
- Pay attention to case sensitivity
- We recommend copying and pasting to avoid typos
Click confirm after entering. The system will verify your key and automatically take you to the management backend.
Step 3: Understand the Management Backend Interface
After successful login, you will enter your personal blog management backend. Here you can see:
Account Balance: Displays your remaining article generation credits. For example, if you subscribed to the Starter plan (30 articles/month), it will show how many articles you can still generate.
Subscription Service Date: Shows your subscription validity period, including the start date and expiration date. Monthly credits will refresh automatically at the start of each new billing cycle.
Historical Blog Content: This lists all articles you have previously generated. You can view, copy, or download this content. Each article will show the generation date, keywords used, and the article title.

Step 4: Create New Blog Content
In the management backend, you will see a prominent "New Blog Content" button. Clicking this button will guide you through the content creation process. This is the core function of the system; let's look at each step in detail.
Step 5: Fill in Website and Business Information
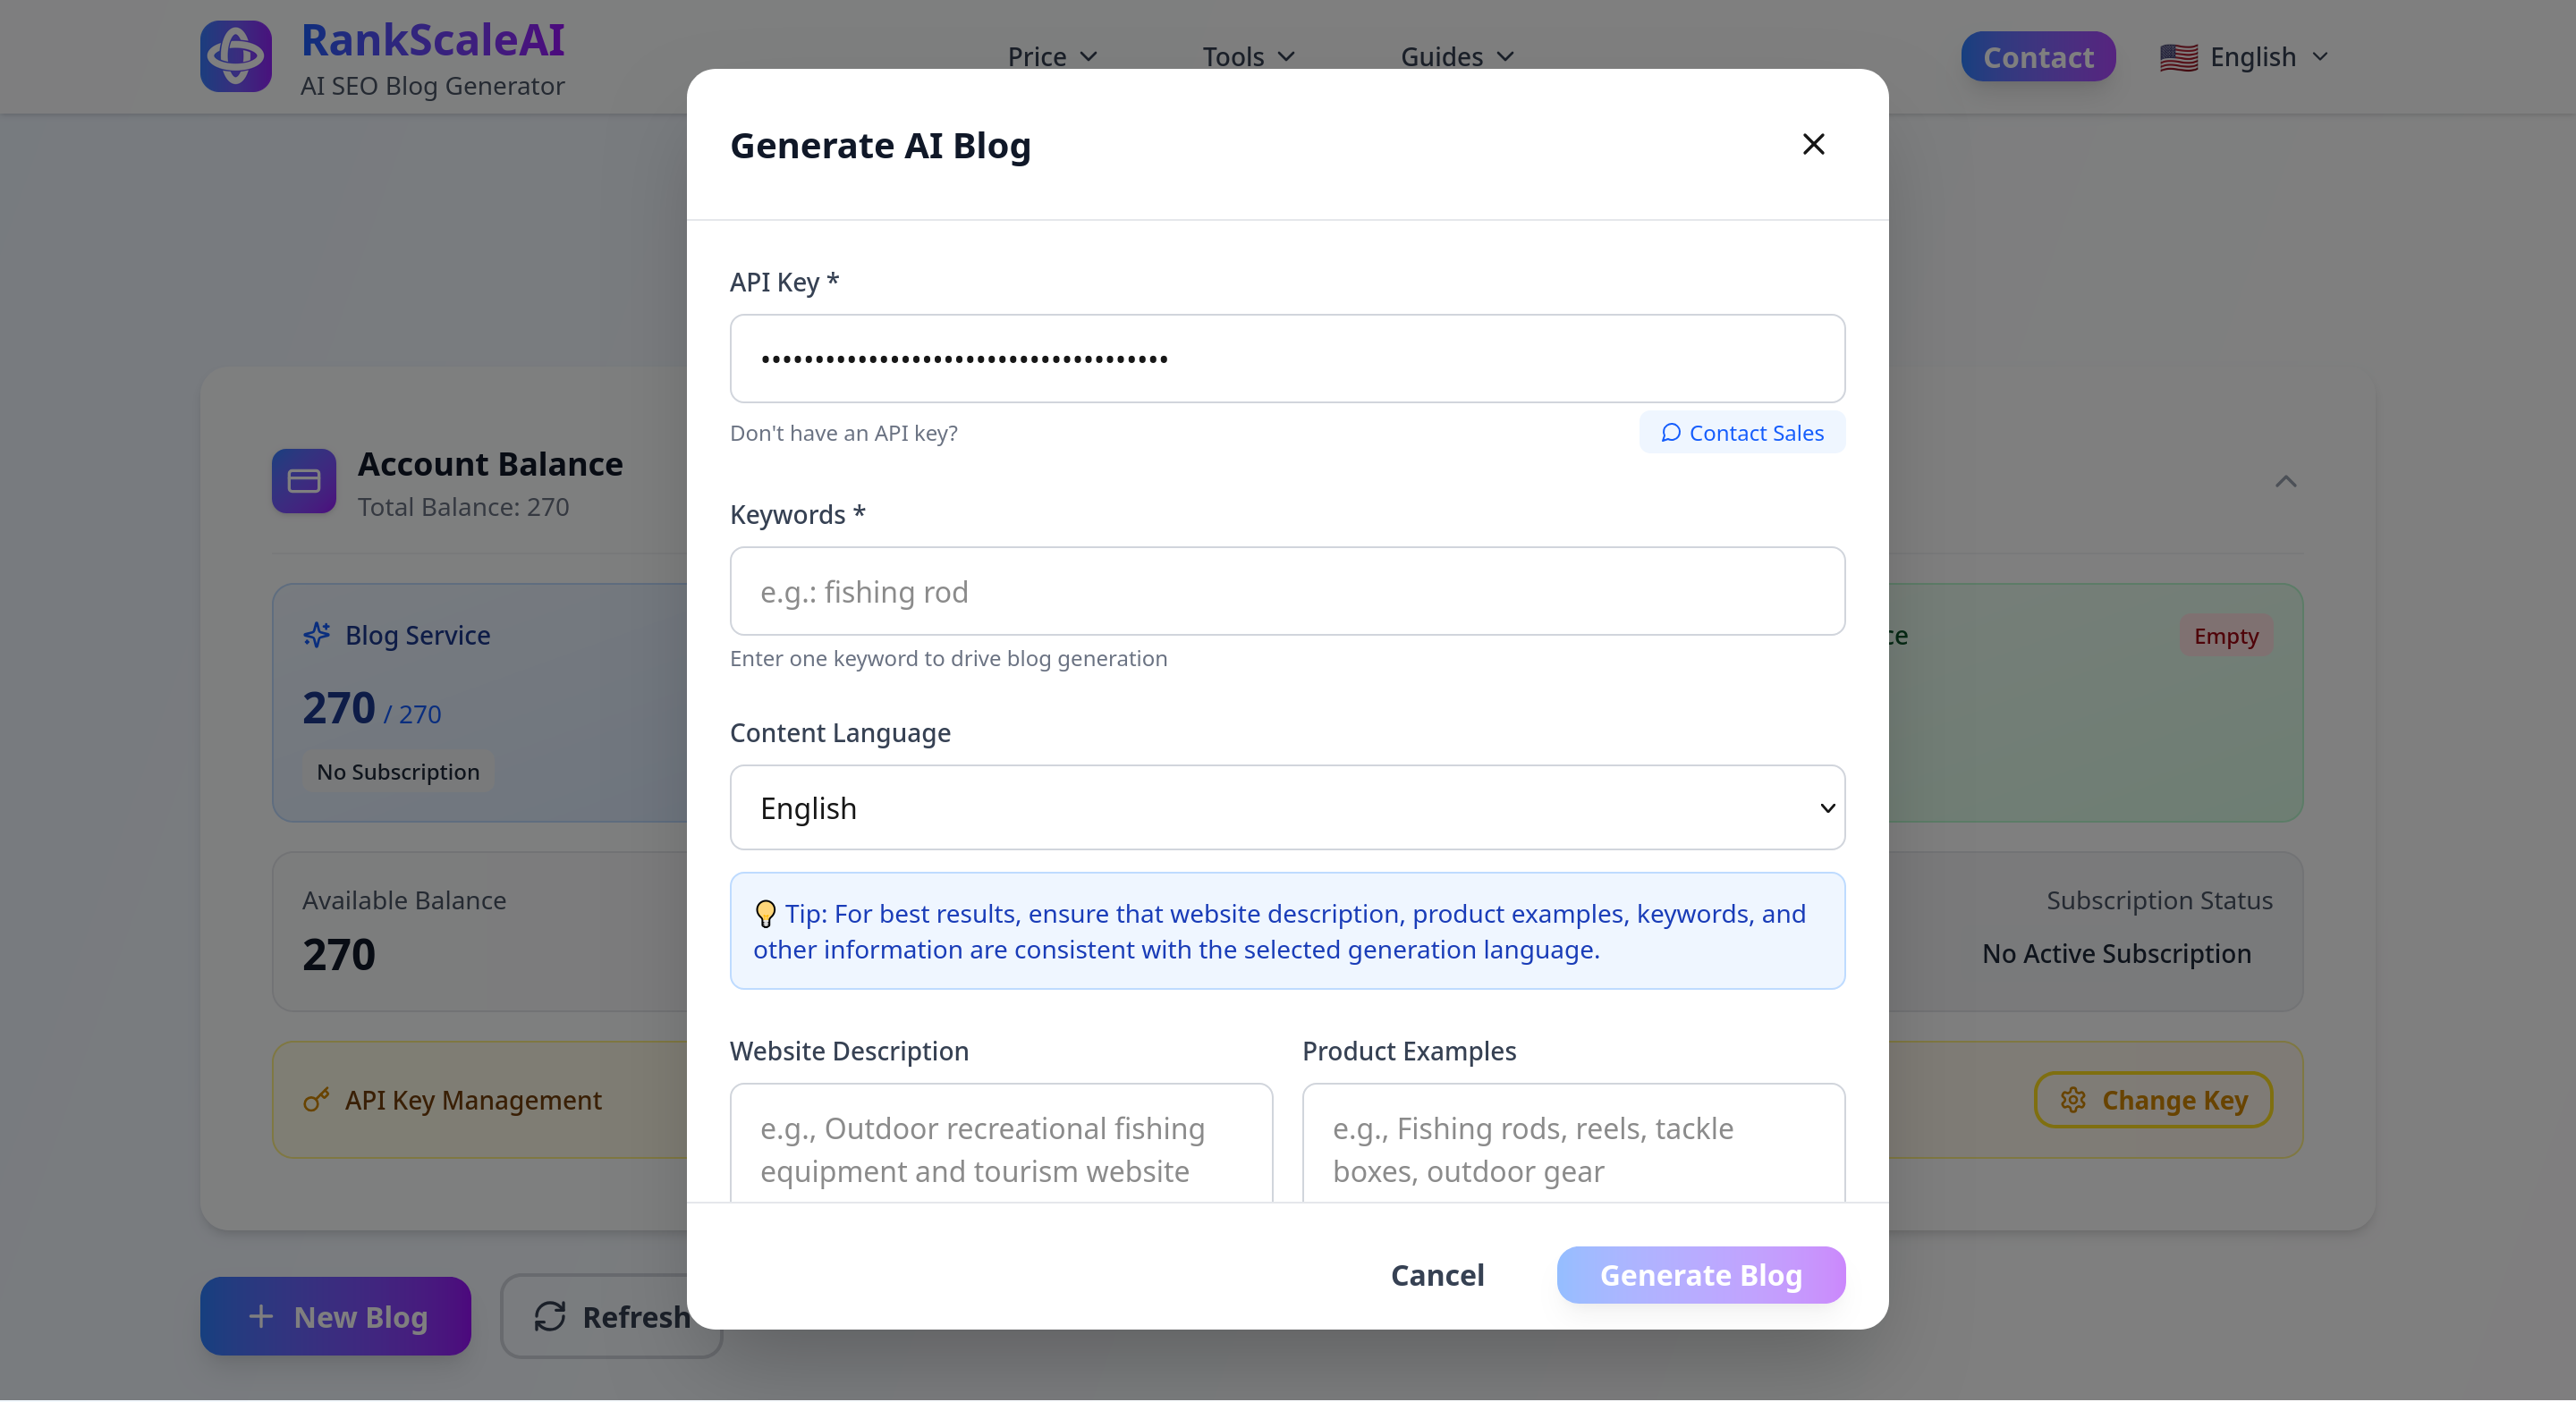
After clicking "New Blog", you need to fill in three key pieces of information. These will help the system better understand your business and generate more accurate content.
Website Description
In this field, please describe your website's theme and business scope in detail. The more specific the description, the more tailored the generated content will be to your needs. If you need to generate content in English, the following should also be in English format (you can use tools like DeepL for translation).
Examples:
- Basic Description: "Outdoor recreational fishing equipment"
- Detailed Description: "An e-commerce website focused on providing high-quality outdoor fishing gear, primarily targeting fishing enthusiasts and outdoor sports enthusiasts, offering complete fishing solutions from beginner to professional levels"
Product Examples
List the main products or services offered on your website. This information helps the system naturally incorporate relevant product details when generating content.
Examples:
- "Fishing rods, bait, fishing line, fishing backpacks, hooks, floats, tackle boxes, folding chairs, sun umbrellas, landing nets, fishing apparel, and other outdoor fishing gear"
We recommend listing 5-10 of your core products or services, covering different categories, so the system can understand your business scope more comprehensively.
Target Market
Specify the geographic location or language used by your target audience. This information determines the content localization strategy and cultural adaptability.
Geographic Location Examples:
- "USA, Canada, Germany, Japan, Europe, Mexico"
- "Southeast Asia region (Singapore, Malaysia, Thailand, Indonesia)"
- "Tier 1 cities in China (Beijing, Shanghai, Guangzhou, Shenzhen)"
Language Market Examples:
- "English" (creating content for global English speakers)
- "Spanish" (covering the Spanish and Latin American markets)
- "Chinese" (targeting global Chinese readers)
Step 6: Enter Target Keywords
After filling in the basic information, the system will prompt you to enter the keywords you want to optimize for. This is the core step for generating SEO content. The keyword language must match the intended article language. You can only input one keyword for one article.
Keyword Selection Suggestions:
- You can enter only one keyword.
- Choose long-tail keywords relevant to your business.
- Consider the user's search intent.
Examples:
- Primary Keyword: "beginner fishing equipment recommendations"
- Related Keywords: "fishing starter kit for beginners", "essential tools for new anglers"
Step 7: Select the number of images required for an article and whether to insert relevant YouTube videos
Step 8: Generate and Retrieve Content
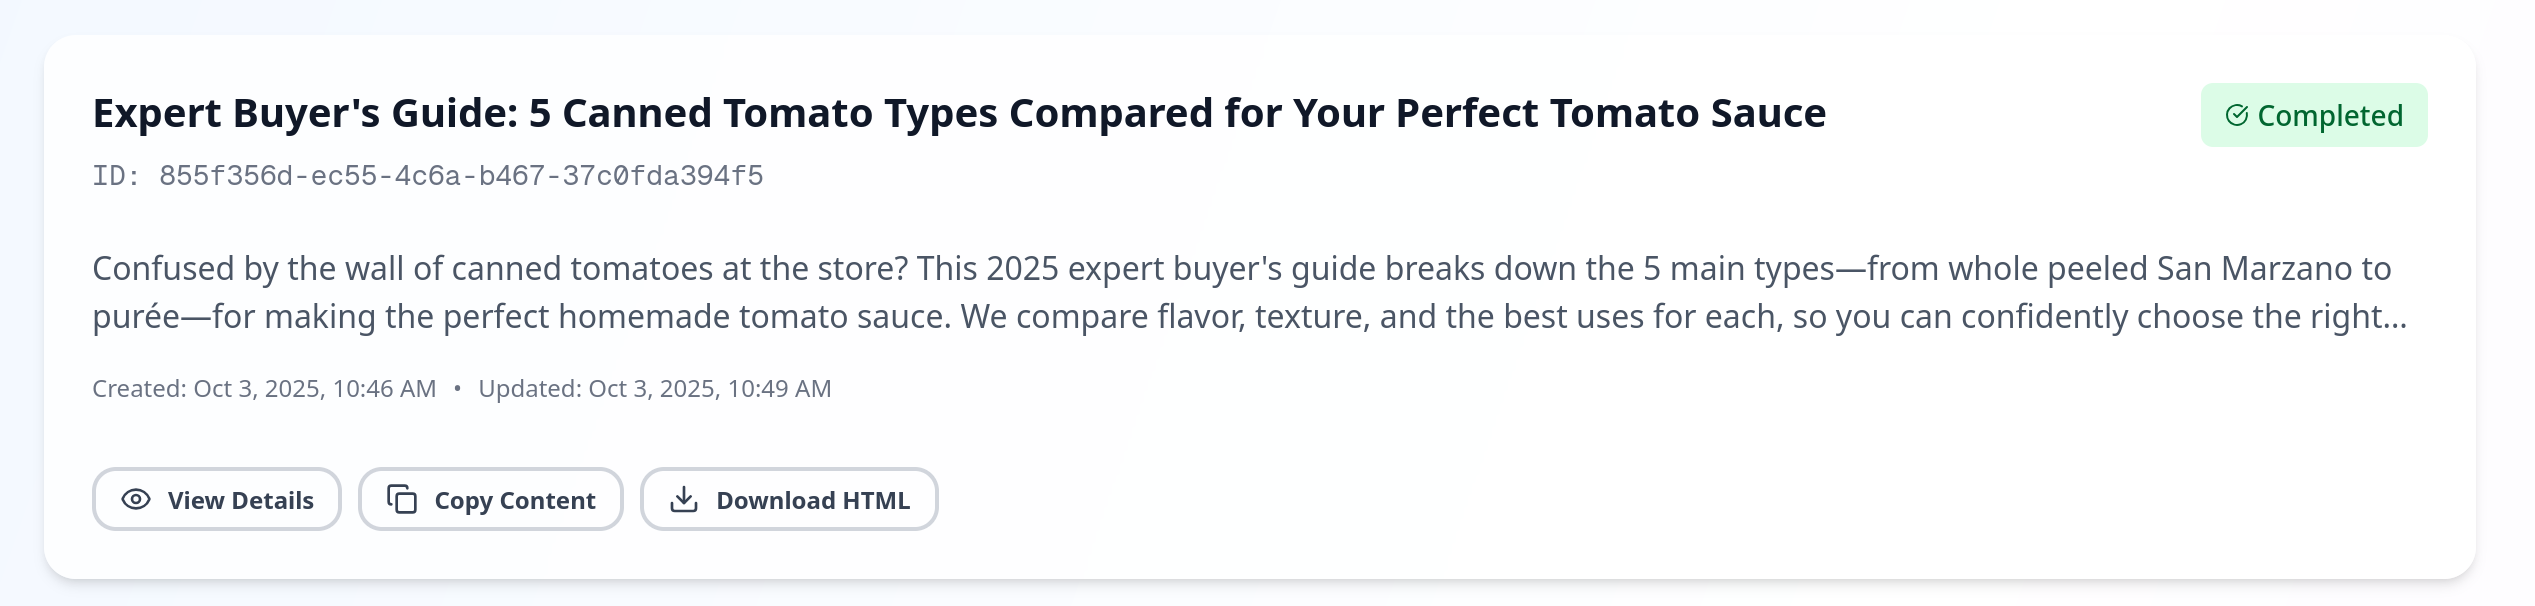
After entering the keywords, click the "Generate Content" button. The system will begin processing your request, typically taking 5-7 minutes to generate a professional 3000-7500 word SEO article.
During generation, you will see a progress indicator. Once complete, you can:
- Preview the generated content online
- Copy the full text to your clipboard
- Download it as a text file
- View SEO optimization suggestions
Next Steps and Best Practices
After generating content, we recommend you:
- Quick Review: Although the system generates high-quality content, we recommend quickly skimming through it to ensure it aligns with your brand voice.
- Personalize: Add some personal experience or specific product information as needed to make the content more unique.
- Publish to Website: Copy the content into your website CMS (like WordPress), and set the SEO title, meta description, and URL.
- Update Regularly: We recommend maintaining a frequency of at least 2-3 articles published per day to continuously improve your website's SEO performance.
Frequently Asked Questions (FAQ)
Q: What happens when I use up my monthly credits?
A: You can wait for the credits to refresh at the start of your next billing cycle, or consider upgrading to a higher plan.
Q: Can the generated content be published directly?
A: Yes, it can be published directly. However, we recommend making some minor adjustments based on your brand style; adding personalized content is even better.
Q: How do I choose the best keywords?
A: We recommend using tools like Google Keyword Planner to research search volume and competition, choosing long-tail keywords with moderate search volume and lower competition.
Need Help?
If you encounter any problems during use, you can:
- Check our detailed documentation center
- Contact online customer support for immediate help
- Send an email to
support@rankscaleai.com
We wish you a pleasant experience and look forward to seeing your SEO results!