Smart Plan Quick Start Guide
Welcome to RankScale AI Smart Plan! In this guide, you will complete the process from entering keywords to generating your first SEO article step-by-step. This process takes about 10 minutes. Let's get started!
Preparation
Before you begin, please ensure you have:
- Subscribed to RankScale AI Smart Plan
- Communicated with us and confirmed your specific requirements
- Received the access key and Google Sheet link we sent
- Prepared the keywords for the SEO articles you need to generate
Step 1: Access the Google Sheet and Enter Keywords
Open your browser and access the Google Sheet link we provided.
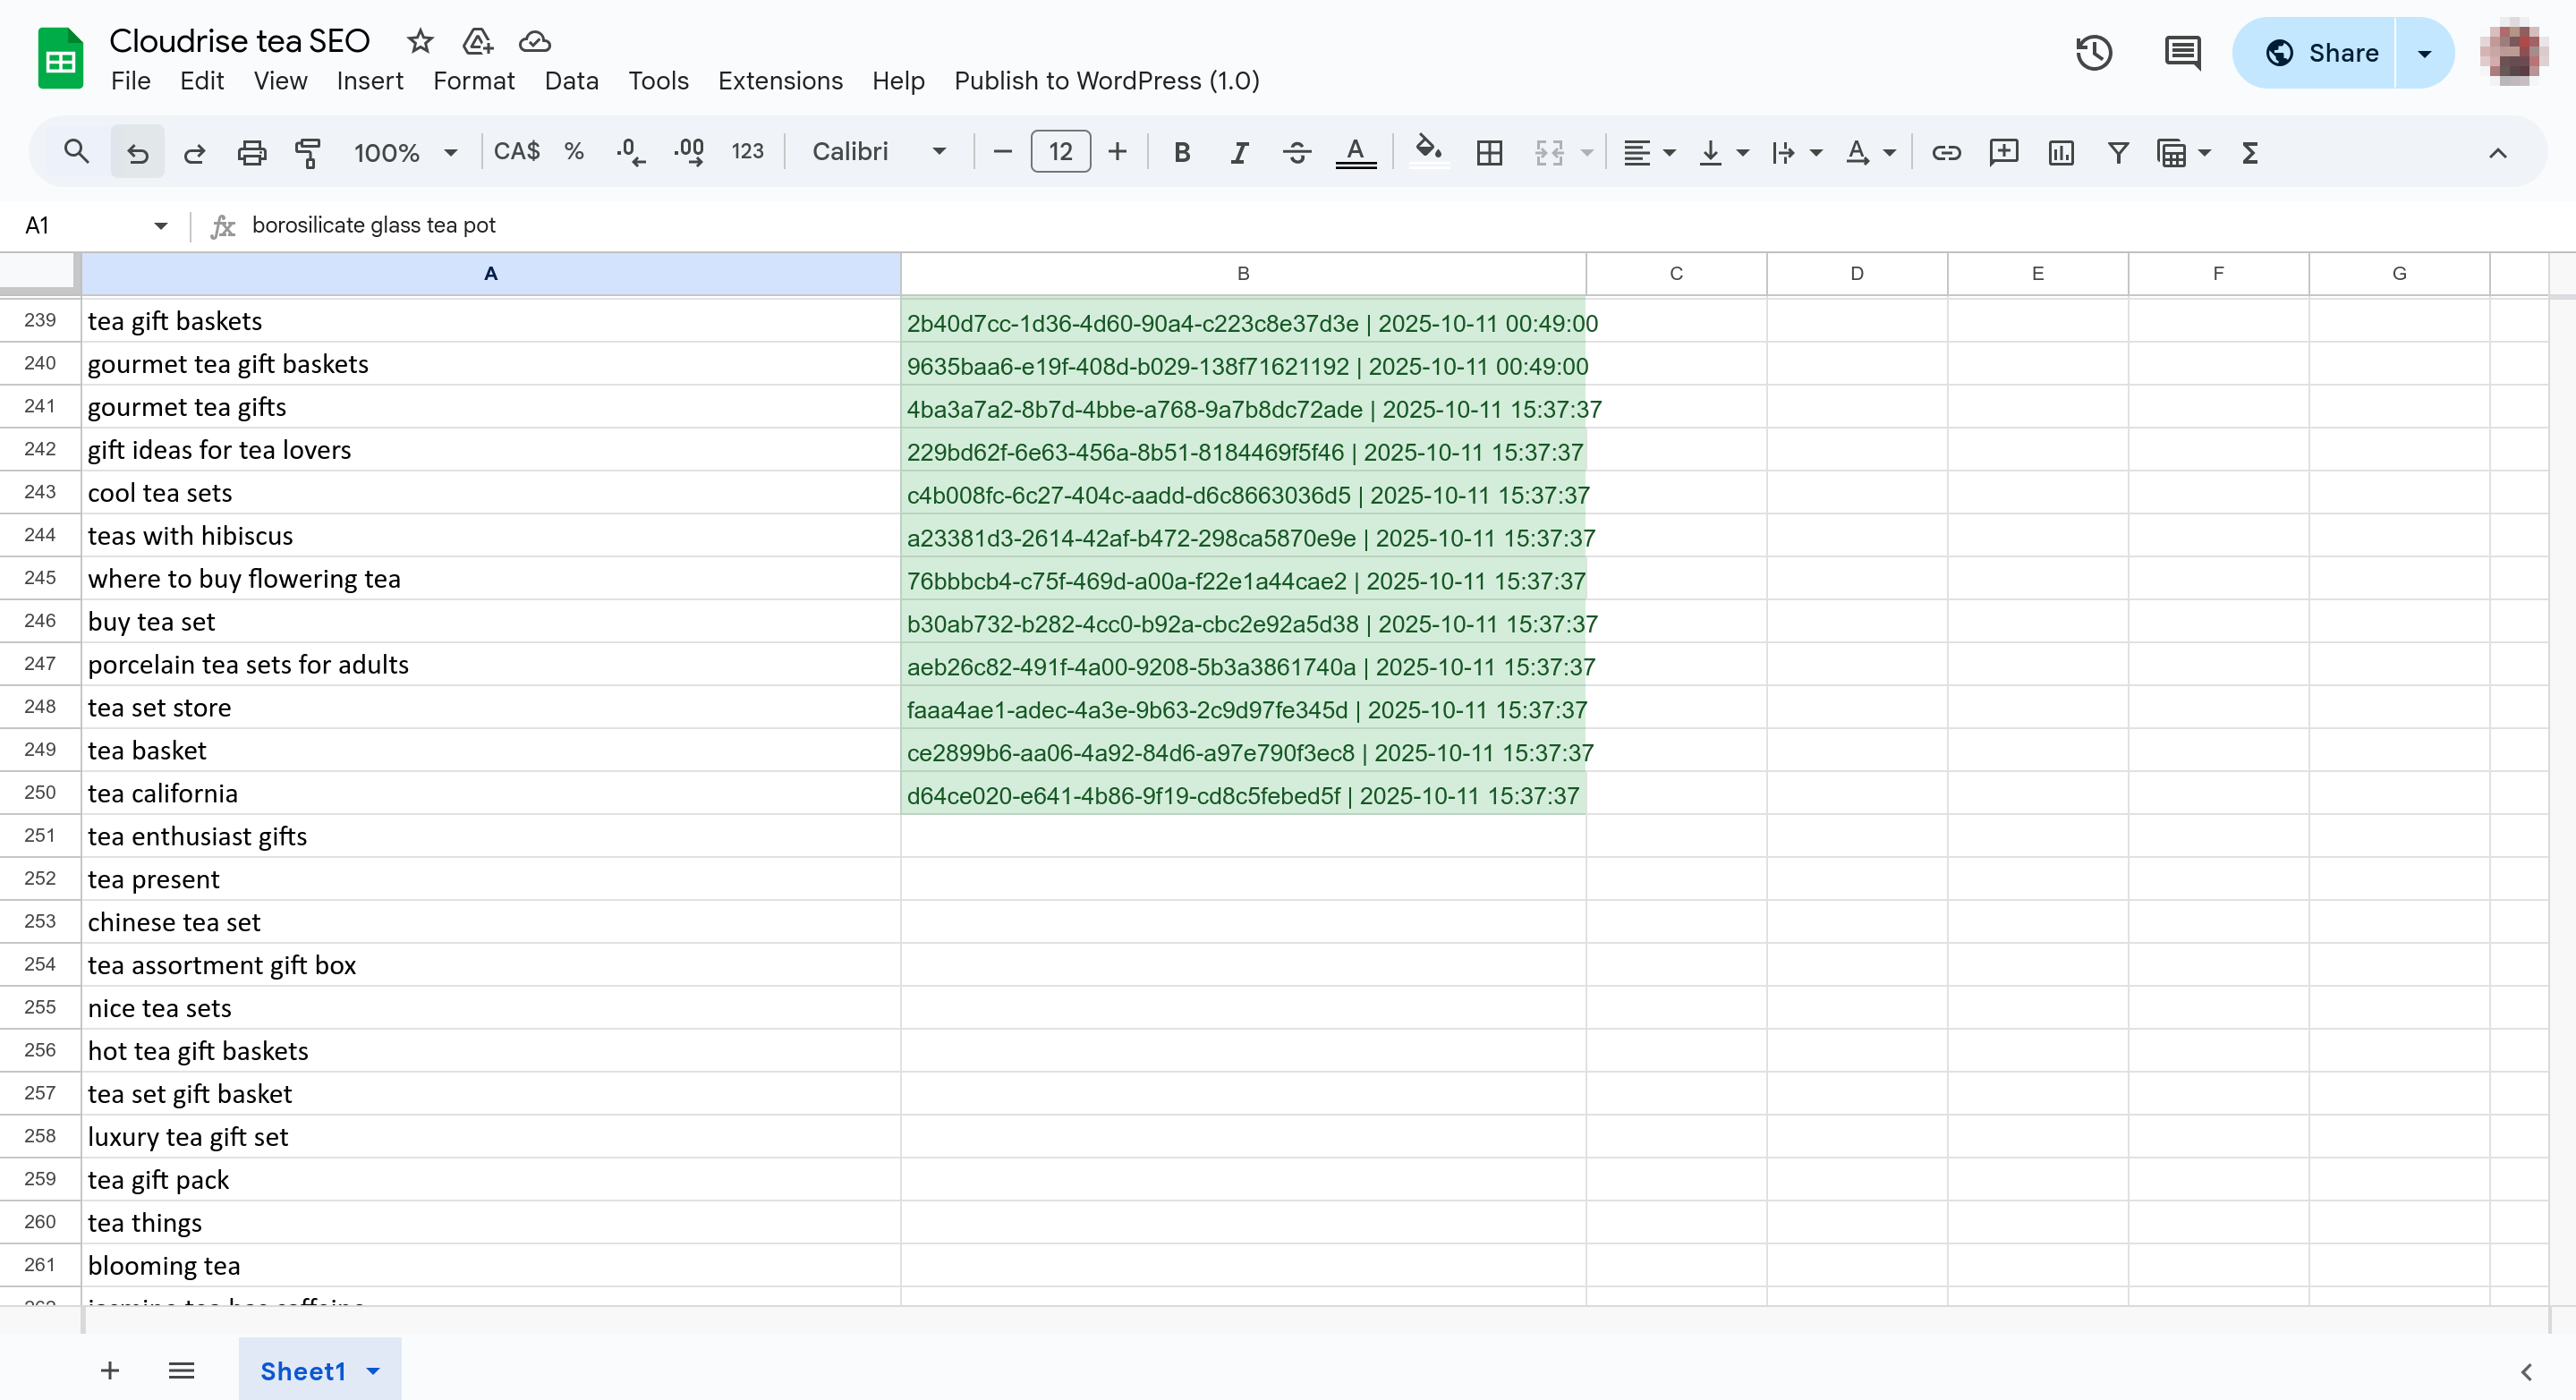
You will see two columns of data. The first column is where you enter your keywords, and the second column is automatically filled by the system with the corresponding blog ID and generation start time.
You need to enter the keywords for the articles to be generated in the first column, with one article per line.
Note: Since the generated articles will be automatically added to your WordPress, please adjust the number of articles generated at one time reasonably based on the performance of the relevant server to avoid causing WordPress service lag that affects your normal use.
Step 2: Wait for Article Generation
After entering the keywords, please wait a moment. You will see the system automatically write the blog ID and generation start time to the right of each keyword. This indicates that the system has detected your newly entered keywords and has started generating SEO articles for them.
You can visit our blog management page to check the article generation status: https://rankscaleai.com/en/blog-management
After opening the page, you will see a login interface. Enter the access key we provided in the input box (it is recommended to copy and paste to avoid errors) and click confirm to enter the management backend.
In the backend, you can view your account balance, subscription validity period, and generated content.
The blog IDs in the table correspond one-to-one with the management backend. This allows you to determine which articles have been completed, which are still being generated, or which have encountered errors.
Once the content is generated, it will be automatically added to your WordPress without manual operation.
Step 3: View Your Blog in WordPress
Log in to your WordPress service, and you will find the newly generated articles in the post list.
If you enabled image generation during our communication, we will automatically search for relevant images in your WordPress media library and add them to the articles.
Next Steps and Best Practices
- Manual Review: The quality of the articles we generate is high, but we still recommend that you review them to ensure they align with your brand tone.
- Personalization Adjustments: You can freely adjust the article content according to your needs to reflect your brand's unique style.
- Regular Updates: We recommend maintaining a publishing frequency of 2-3 articles per day to continuously improve your website's SEO performance.
Frequently Asked Questions
Q: What should I do when my monthly quota is used up?
A: You can wait for the next billing cycle, at which time the quota will be automatically reset, or consider upgrading to a higher plan for more quota.
Q: Can I publish the generated content directly without adjustments?
A: Yes, but we recommend making minor adjustments according to your brand style for better SEO performance.
Q: How do I choose the best keywords?
A: You can use tools like Google Keyword Planner to research search volume and competition comprehensively, selecting long-tail keywords with moderate search volume and low competition.
Need Help?
If you encounter article generation failures, content that does not meet expectations, or need to adjust the generation style or integrate with other CMS platforms, you can:
- Search our documentation center
- Contact online customer service for immediate assistance
- Send an email to
support@rankscaleai.com
We wish you a pleasant experience and look forward to seeing your SEO results!